Showing posts with label Kaisercraft. Show all posts

Monday, September 8, 2014

Missing You with Cheery Lynn Designs

Monday greetings to you, it's my day to host the blog over at Cheery Lynn Designs.

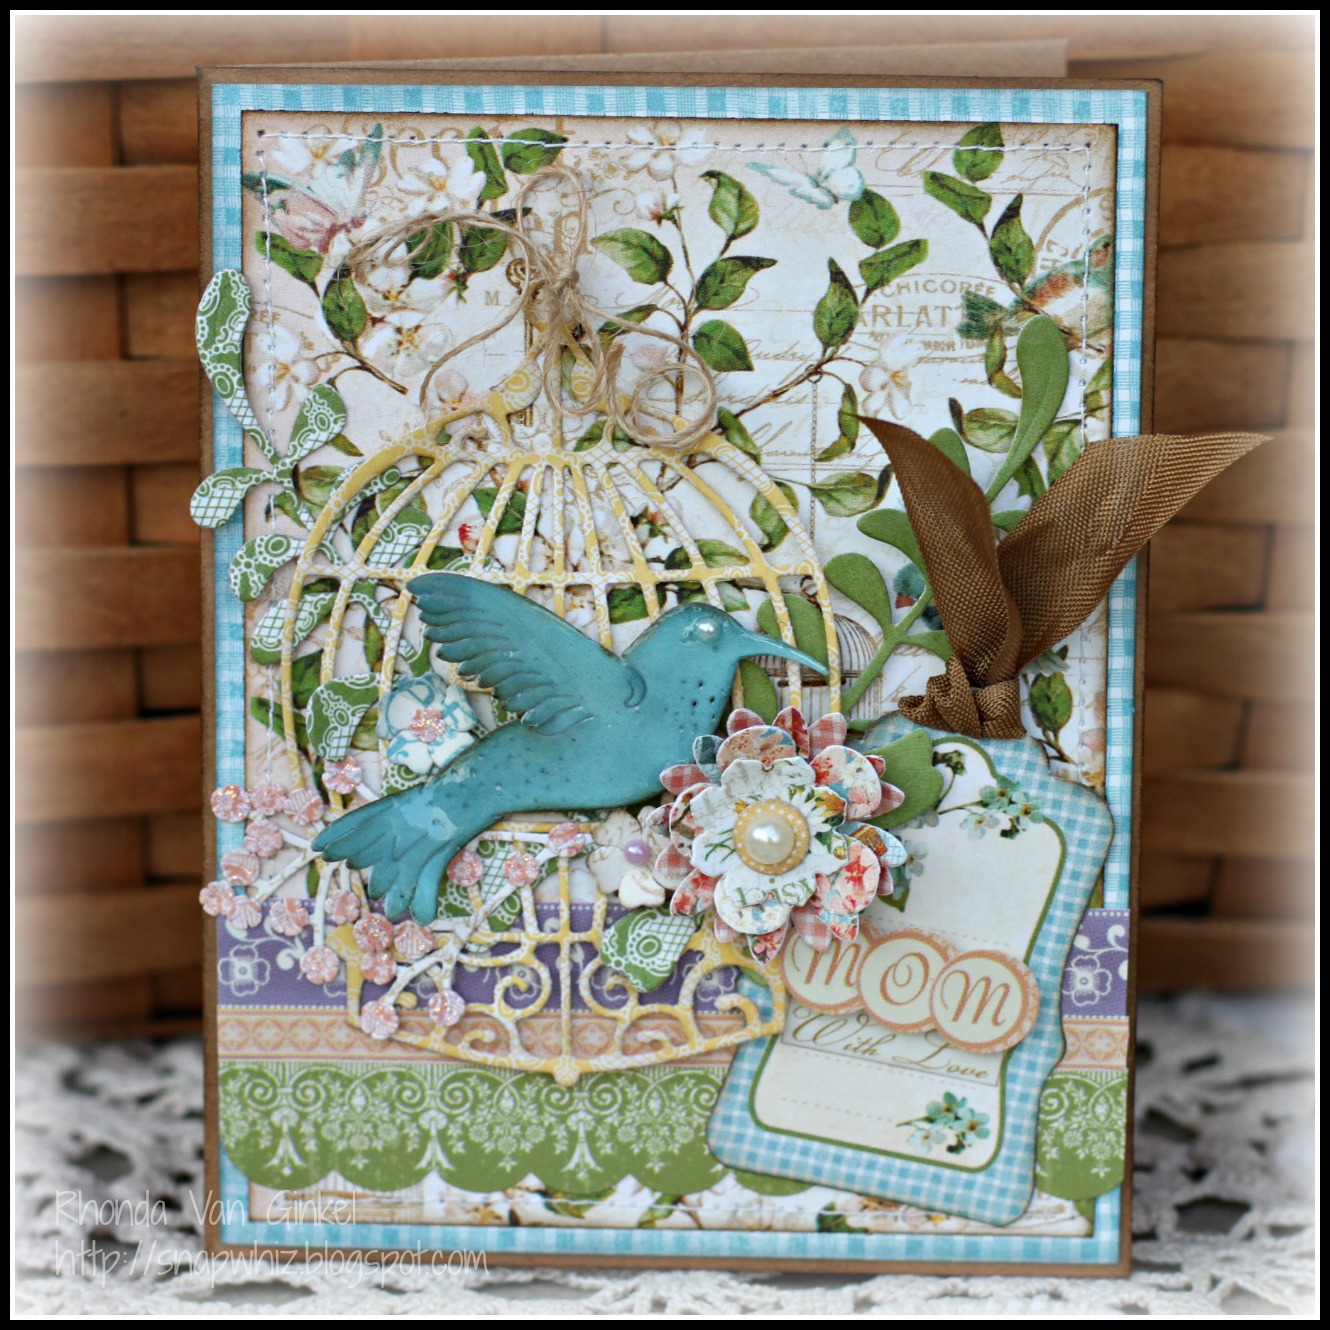
I have a "Missing You" sentiment card to share with you today.  My card was created using a variety of our pretty dies. One thing that I really love to do is mix and match our dies.

"Missing You" (A2 sized card)

I started by cutting the medium Horizon Square Boutique Stacker, then scored and folded it. I adhered to the back. Next, I layered under on the front the French Lattice Small and on top of it, half of a Kiwi Spirit Doily. 


I cut the Southern Charm Valance from cardboard of a cereal box, then added a coat of gesso. It was adhered with some glossy accents on the lines and vines. I left the right center side open so I could layer in my Sentiment Tag 2 and Horizon Fishtail Banner.

I've shaped my Horizon Fishtail Banner to add a bit of dimension and charm. My Tea Rose flower was first embossed using the Foliage Embossing Plate, then cut, shaped and inked lightly. I tucked in the Mini Fanciful Flourish and added the petite florals from Embellishments 3 to add a bit of a delicate touch. Pearl centers finished the flower along with a few little stick pins.

Cheery Lynn Designs Dies Used:

Other Products:
Mother Nature pattern papers by Ruby Rock-It
Julie Nutting "Lots of Love" Stamp Set for Prima
Pearls by KaiserCraft
Memento Black Ink
Copic Markers
Stick Pins by Little Yellow Bicycle

Please join us this week for our fabulous new challenge "All About Texture"!  You could win a $20 gift certificate to the Cheery Lynn Designs store just for playing along!

Thanks so much for stopping on over to the blog today.  Have a super scrappity day!

Monday, September 1, 2014

Envelope Card with Cheery Lynn Designs

Happy first day of September to you.  It's my day to host the blog over at Cheery Lynn Designs.

I have a criss cross style card to share with you today. This style of card is fun to create as you get a decorative envelope and another sweet little card to go inside.


Once I assembled my base piece, I used our Card Maker Rectangle Classic to cut my pieces for the front. I then used the Lilith Edger Doily die on my angle.  You see the Anastasia Border peeking out on the sides and bottom.


The Fiona's Magic Mirror fit perfectly inside to create the base for my card. The other layers were used with Card Maker Rectangle classic and scalloped. The little tags were layered and tucked in to create a little tab to help pull the card out.


I've used a variety of flowers here for interest and texture along with the Rose Leaf Strip and Flourish Leaf Strip.  I hope you liked my creation today, it was really fun to create this card.

If you would like to make one of these cards, you can find the tutorial by Beate Johns on SplitCoastStampers here.

Cheery Lynn Designs Dies Used:
Card Maker Rectangle Classic - CM-1

Other Products:
Madeleine Collection by BoBunny
Pearls by Kaisercraft

Please join us this week for our all new challenge, "Hearts A Glow".  You could win a $20 gift certificate just for playing along!

Thanks for stopping on over to the blog today.  Have a wonderful week!
~ Rhonda 

Monday, June 23, 2014

Frames, Flowers and Flourishes with Cheery Lynn

Happy Monday! It's Monday and you know what that means?  It's my day to share a project over on the Cheery Lynn Designs blog!

Today my card is all about the soft and pretty frames, flowers and flourishes that Cheery Lynn Designs has. I started my card with a frame, moved on to add some flowers and flourishes and came up with this as my final result:

 
I started with one of my favorite frames, the Fiona's Magic Mirror. Next I layered the medium size Horizon Oval Boutique Stacker cut from black cardstock. On top of that is an Oval Scalloped Stacker. Each of these layers is adhered with foam squares for dimension. 

 
The Quill and Ink Pot die was used to cut my 2 Quills, and I layered a pearl spray in between them for a softer look.  The next layers are a little tricky, they are the Rectangle Horizon Boutique in the smallest size, then to the right you'll see the French Pastry Tiny Doily underneath the Cutie 4 bloom.  Underneath I tucked in the Flourish Leaf Strips that I cut in shades of beige and aqua.

A detail image to show you the dimension and layers.
 
Cheery Lynn Designs dies used:
 
Other Products Used:
"The Avenues" pattern papers by BoBunny
Sparkle Gem by Queen and Company
Pearls by KaiserCraft
Foam Adhesive Squares by Scrapbook Adhesives
Glossy Accents by Ranger
 
Please join us for our all new challenge this week, "Wonderful Weddings". You could win a $20 gift certificate to the Cheery Lynn Designs online store just for playing along!  

Have a super scrappity Monday!

Monday, June 16, 2014

A Krafty Romantic Card with Cheery Lynn

Happy Monday to you!  It's my day to share a project over on the Cheery Lynn Designs blog.

This week's new challenge is "Keep It Krafty", so I decided to use Kraft cardstock for the base of my card.  I wanted to create something a bit romantic, yet still somewhat suitable for a masculine recipient.

"Always" (A2 sized card)

I started with the base card, then my first layer I used the Lady Kate Edger. Next, I used my Horizon Coved Rectangle Boutique Stacker, then added the Coved Rectangle Scalloped Stacker using Foam squares for dimension. To create a bit of interest I used a Steampunk Corner in the upper left of those layers.


The trimmed and inked Horizon Fishtail Banner was added with foam dimensional squares as well, then the Sentiment Tag 2 was the perfect anchor for either a sentiment or embellishment. 

I opted to use the Dripping Butterfly as a focal point as I find it to be so very pretty!  To finish my card I then applied the "Always" rub-on sentiment directly to the paper above. (Notice the vellum cut of the Sentiments Tag 2?  The little Dandelions are another new favorite of mine, aren't they so cute?!!!

Cheery Lynn Designs dies used:
Lady Kate Edger - B278
Dripping Butterfly - DL266
Horizon Fishtail Banners - DL278
Dandelions - B453
Horizon Coved Rectangle Boutique Stacker Frames - DL251
Coved Rectangle Scalloped LG Stackers - XL11
Steampunk Corner - B437
Sentiment Tag 2 - B425
Margarita Border - B432

Other Products used:
Rub-On Sentiment by Studio Calico
6x6 Paper Pad by Prima "Botanical"
Pearls by KaiserCraft
Foam Squares by 3L
Glossy Accents by Ranger
Xyron Mega Runner

Please join us in our new "Keep It Krafty" challenge!  You could win a $20 gift certificate to the online store just for playing along.

Have a super scrappity Monday!

Tuesday, April 15, 2014

April New Release for Cheery Lynn Designs!

Happy Tuesday crafty peeps!  It's an exciting day over at the Cheery Lynn Designs store and blog today, the April new release reveal is finally here!!!

My aunt and uncle recently celebrated their 50th wedding anniversary and I thought it would be fun to use their photo along with an assortment of the pretty new dies for my project.

"We Still Do" 8x8 Page

I started by cutting the Southern Charm Valance and Steampunk Corners out of cereal box chipboard. They were coated with white gesso and inked with soft grey chalk ink. The Margarita Border worked nicely as an anchor for the bottom of my page.


The beautiful new Horizon Fishtail Banners make their appearance peeking out from under my Coved Rectangle cut along with a bit of the Double Edge Border. I folded down one corner of my Coved Rectangle for interest and texture, then stitched a few various places.


The Beautiful Bell Doily peeks out from my photo along with the very elegant new Add a Flourish. I've used the new Branches tucked in here and there.  The flowers here are all brand new too! Tea Rose Small and Medium are anchored on either side of the bottom. Sweet Christine's are smaller and darker papers with pearls in the centers. Gardenia Small is on the upper right.

Decorative trim was placed on the upper right corner of the page using one of our new Arrows, on top of some Double Scalloped Border which was trimmed and scraps from one of my Horizon Fishtail Banners.

These new dies are simply fantastic, be sure to visit the blog to see some fantastic inspiration featuring more of our new dies!!!

Cheery Lynn Designs New Release dies used:
Tea Rose Small - B435
Tea Rose Medium - B436
Sweet Christine - B434
Gardenia Small - B433
Beautiful Bells Doily - DL277
Southern Charm Valance - B454
Add a Flourish - B456
Branches - B466
Horizon Fishtail Banners - DL278
Margarita Border - B432
Steampunk Corner Left and Right - B437
Double Scalloped Border - B465
Arrows (Set of 5) - B467

Cheery Lynn Designs dies used:
Scalloped Rectangle - DL199
Coved Rectangle - XM10
Mini Butterflies with Angel Wings - D138
Small Exotic Butterflies 1 with Angel Wings - DL112AB
Congratulations (Set of 2) - B289

Other Products used:
Papers by 7 Dots Studio
Pearls by KaiserCraft
Gesso
Tiny Attacher by Ranger
Foam Squares by Scrapbook Adhesive
Glossy Accents by Ranger
Sewing Machine and Thread
Soft Sage, Coal Miner and Midnight Confessions PowderPuff Chalk Inks by Quick Quotes

Thanks so much for stopping on over today for a visit! Have a super scrappity day!!!

Monday, December 9, 2013

Merry and Bright with Cheery Lynn Designs!

Happy Monday, it's my day to host the blog over at Cheery Lynn Designs!  How was your weekend?  Did you get much shopping, crafting or baking done?  As you can see by my photo's below it was really snowing here in Minnesota.

I took a bit of time to do some crafting of course.  I've got a card to share today inspired by our challenge this week, "Red and Green".

"Merry and Bright" (A2 sized card)

I started with the Kiwi Spirit Doily and layered it with the Horizon Oval Boutique Stacker that I turned vertically.  Next you'll see the Sophie's Heart Mini peeking out.  On top of it is the smallest Horizon Oval Boutique Stacker in a horizontal position that I attached with foam dots, then topped with the Sentiment Frame 1. 


Tags 4 were used to tuck under my sentiment frame for an added fun touch.  I cut the holly leaves apart from my Mega Holly Flourish and tucked them into my border, then added a little bling for the berries.

Cheery Lynn Designs dies used:

Other Products:
Silver and Gold pattern papers by BoBunny
Stick Pin by Petaloo
Sentiment Rub-On and Sparklets by Kaisercraft
Pearls by Want2Scrap
Other:  Seam Binding Ribbon and Velvet Ric-Rac trim

I hope you are able to join us for our "Red and Green" challenge this week, remember there's a $20 gift certificate prize to be won!  We always enjoy seeing your beautiful creations with our dies.  

Have a super scrappity Monday!

Monday, November 18, 2013

Stepping Toward Christmas with Cheery Lynn Designs

Monday greetings to you!  It's my day to host the blog over at Cheery Lynn Designs today.

I've got a step card to share with you today with a bit of an unconventional holiday color scheme.  This card was created with our Step Card and Snowflakes dies and several of our newer release dies as well.


The Step Card die made quick work of creating the base for my card. I honestly just love this die!  Once I had my base and layers created, I inked and then stitched them down for a little added interest and texture.


I chose the Shuttered Window with Flower Box and decided to layer the Birch Tree die behind it.  I did cut the tree twice, then angled the top branches off to the side for this effect.  I modified my Bird a bit by cutting the back wing and angling it a bit, then I inked and added a coat of Glossy Accents.

Cheery Lynn Designs dies used:

Other Products used:
Woodland Winter Pattern Paper - BoBunny
Silver and Gold Pattern Paper - BoBunny
CardStock - Core'dinations 
Pearls - Kaisercraft
Bling - Want2Scrap
Goosebumps - Queen and Company
Weathered Wood and Antique Linen Distress Ink by Ranger
Rock Candy Stickles - Ranger
Glossy Accents - Ranger
Rub-On Sentiment - Pebbles
Other:  Ribbon, Thread, Sewing Machine

Please join us this week for our fun "Tag - You're It!' challenge! We love to see all of your beautiful projects -- and you could be the happy winner of a $20 gift certificate to the Cheery Lynn Designs store!

Thanks so much for stopping on over to visit today.  Have a super scrappity Monday!

Monday, September 30, 2013

Romantic Best Wishes with Cheery Lynn

Happy Monday to you!  It's my day to share a project with you over on the Cheery Lynn Designs blog today.

My project for today is a soft and romantic card featuring our "Best Wishes" phrase die along with some sweet little tags, bits of flourish, doily, miniature rose, greenery and of course lace. The papers here are by Pion Design.

"Best Wishes" A2 Size Card
A bit of Ankara Lace Border is tucked under my sentiment block.


I cut a few hearts from the Sophia's Heart Border apart, then layered them together and used a bit of Glossy Accents to create a pretty little embellishment in the sentiment block.  

These dies are so pretty, I love to look for different ways to use scraps and pieces from them. 

Cheery Lynn Designs dies used:
French Flair Silver - L12
Ankara Lace Border - B332
Best Wishes Phrase - B244
Mini Fanciful Flourish - B117S
Sophie's Heart Mini Doily - DL238
Sophia's Heart Border - B333
Tags 2 - B261
Ivy Strip - B304
Mini Rose - B152

Other Ingredients:  Kaisercraft Pearl, Cheesecloth, PowderPuff Chalk Ink in Coal Miner, Weathered Wood Distress Ink, Diamond Stickles, Glossy Accents and String.

Be sure to join us and play along with our "Lace" challenge this week, we would love to see your  creations. Remember, you could win a $20 shopping trip to the Cheery Lynn Designs store!

Check out all of the challenge details here.

Saturday, July 6, 2013

July Place in Time with ScrapTownLady

Happy Saturday crafty friends!  (Moxxie Hoppers - the hop post is here.)

It's my day to post over at the ScrapTownLady blog and for today it's all about Place in Time for July.  All of you Graphic 45 fans know exactly what I'm talking about!

Place in Time is a beautiful collection created to allow you to make your own calendar project with beautiful touches of nostalgia and timeless elegance.  I am using the 12x12 paper stack and mixing in some 6x6 papers from the French Country collection.

Here's my July project:

I decided to use the decorative strips for my July title and the "B" side of the July calendar paper.  I took my scissors to the cut-aparts and just had a little fun with it.  Aren't these classic summer images amazing?  I just love them all!  You'll see a card from me using these scraps soon too.

This page features a variety of manufacturer dies from the store.

I used a beautiful chipboard flourish by Blue Fern Studios, painted with some cream acrylic paint and once dry, dabbed a bit of Weathered Wood Distress Ink on it. It made the flourish morph into the design so nicely. You can find a beautiful variety of Blue Fern Studios chipboard in the store here.

Layered up a few doilies for texture.

ScrapTownLady Ingredients:
Ornate Metal Keys by Graphic 45
Stamped Metal Brads by Graphic 45
Italian Flourish Doily by Cheery Lynn Designs
Dutch Scallop Square by Cheery Lynn Designs
Canadian Kaleidescope Mini Doily by Cheery Lynn Designs
Victorian Romance Flourish by Cheery Lynn Designs
Olive Branches by Cheery Lynn Designs
Chevron DieNamics by My Favorite Things
3x4 Note Book Paper by My Favorite Things
Stacking Stars by My Favorite Things
BluePrints 2 by My Favorite Things (July Header)
Tessatina Border by Memory Box Border
Bliss Pearls by KaiserCraft
Glossy Accents by Ranger

Other: Kraft Card Stock, Blue Core'dinations, Cream Acrylic Paint, Hole Punch, String, Thread, Buttons, Sewing Machine, Butterfly and Lady Kate Edger dies by CLD and Vagabond Die Cutting Machine.   

I hope you enjoyed my project!  I can't wait to bring you the August feature next month. Be sure to pick up your Place in Time paper pad and join us in the fun!  If you do, we would love to see your work on the ScrapTownLady Facebook Page!

Thank you so much for stopping by!  Have a super scrappity weekend!!!
~ Rhonda

Saturday, June 1, 2013

Number 1 Dad!

Happy June to you!

It's my day to share a project with you over at ScrapTownLady.com today.  In anticipation of Father's Day in a few weeks, I thought it would be nice to be prepared in advance this year.

This card was created using the "Hope" line by Authentique using some of the Frames and Corners of "Strong", along with some Cheery Lynn Designs dies and a few fun embellishments.


Since Hope is a spring or Easter themed line, as it also has beautiful browns and blues, you can really use it for any masculine project.  The cream, brown and blue combination is one of my favorites! 


I accented the heart in my "Dad" sentiment with a touch of glossy accents.  The Cheery Lynn Dies make your projects so elegant and classic, I just love how you can mix them in with any theme and they are always gorgeous!  

Be sure to stop and visit the extensive die section over in the ScrapTownLady store.

ScrapTownLady Ingredients:
Lace Square Heart Mega Doily - Cheery Lynn Designs

Other:  Blue Card Stock, Sewing Machine and Thread

Thank you so much for stopping on over today!
~ Rhonda

Wednesday, May 8, 2013

Mother's Day Inspiration and an Announcement!

Greetings crafty friends!

I have a happy announcement to share with you today!  I've been invited to be a part of the ScrapTownLady Design Team.  It's an online store that you'll be able to find your favorite dies and of course all of your other paper crafting necessities!  She has an amazing assortment of dies that you definitely do not want to miss!

I'll be sharing more information in the near future but for today, I have my first project to to share with you.  I created a pretty Mother's Day card, sized A2.


The papers, stickers and tag here are all from the "Secret Garden" collection by Graphic 45.  I've used an assortment of beautiful Cheery Lynn Designs dies that coordinated perfectly with these papers.

Check out the babies breath that the Build A Flower Embellishment 2 creates!

To give you an idea of the layers and dimensions here.

The inspiration for my card was the birdcage and hummingbird dies by Cheery Lynn Designs.  Then I added some babies breath into the cage and finished it with my alpha's and sentiment stickers from the collection.

To make the hummingbird pop a little, I inked and then added some Glossy Accents after I applied the pearl for his eye. Then as the Glossy Accents set up, I used a pin to gently separate the fringe of his wings.   The scalloped border stickers and the seam binding ribbon added a bit more texture and interest.

I'm entering this creation into the Cheery Lynn Designs 'Lots of Layers' Challenge.

ScrapTownLady Store Ingredients:
Bird Cage - B198 - Cheery Lynn Designs
Hummingbird - B193 - Cheery Lynn Designs
Ferns - B118 - Cheery Lynn Designs
Build A Flower Embellishment 2 - Cheery Lynn Designs
Secret Garden 8x8 Pad - Graphic 45
Secret Garden 6x6 Pad - Graphic 45
Secret Garden Alphabet Stickers - Graphic 45
Secret Garden Embellishment Stickers - Graphic 45
Secret Garden Layered Flowers - Graphic 45
Glue Dots - 3/8
Glossy Accents - Ranger
Walnut Stain Distress Ink - Ranger

Other:  Foam Dots, Natural Jute

Thank you so much for stopping on over today! Have a super scrappity day!
~ Rhonda